Teardrop Trailer Build
One of my latest projects has been to build a teardrop trailer, and hopefully have it usable by Memorial Day, 2007. Several people have had interested in what I’ve been doing, so I thought I’d show my progress as I go along.
Building has started
Feb 17, 2007
I purchased a bolt-together trailer over the Interet from Red Trailers.com, and this is the 5x8 model. It’s a folding trailer, and to make a good teardrop, it has to be converted to rigid. I’ve already put the trailer together by the instructions and have taken it down to the DMV to get licensed, but now I want to take it apart for my particular needs.
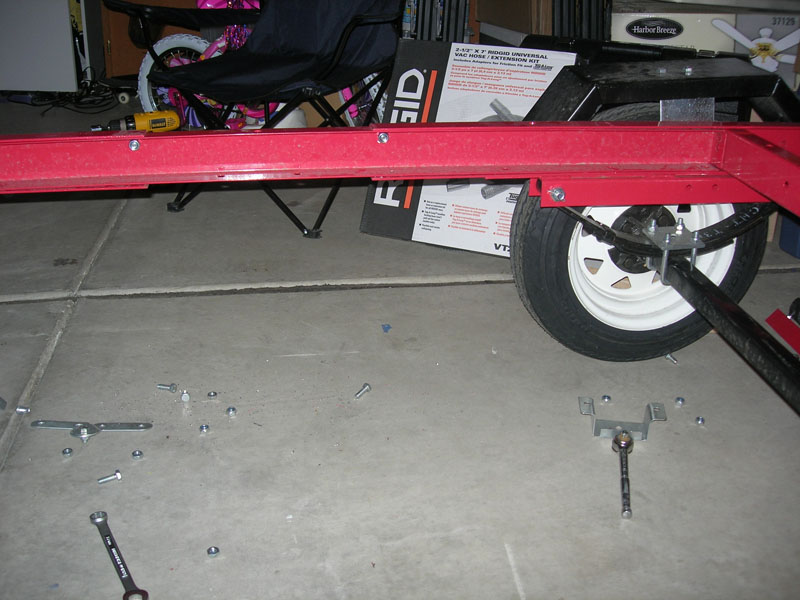
The crossmember is placed inside of the existing siderails. I didn’t cut it at all, which makes the new length of my trailer 9’ 2". I drilled a couple of holes with a 7/16 bit. More holes will be coming later.
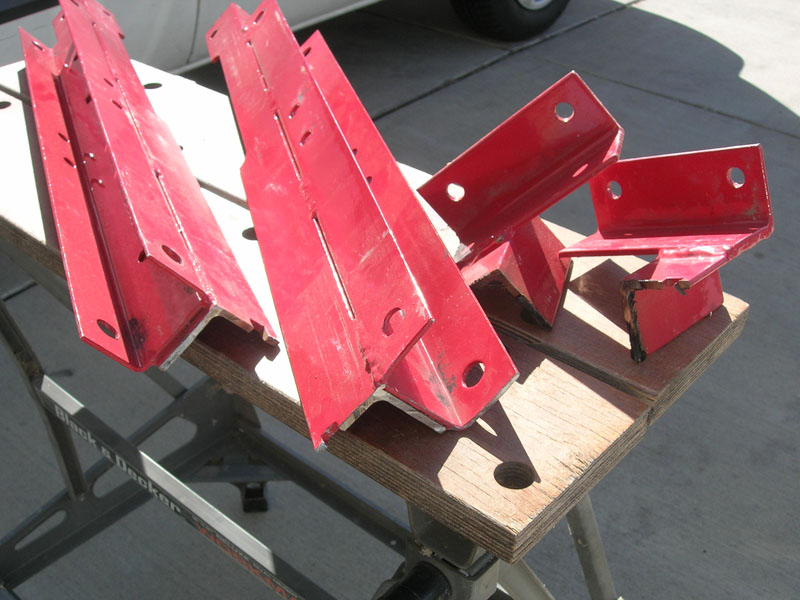
Since I had the axle mountings off to move them back, I cut the little brackets for the little wheels off with an abrasive blade in my circular saw, then used a Dremel to round off the edges.
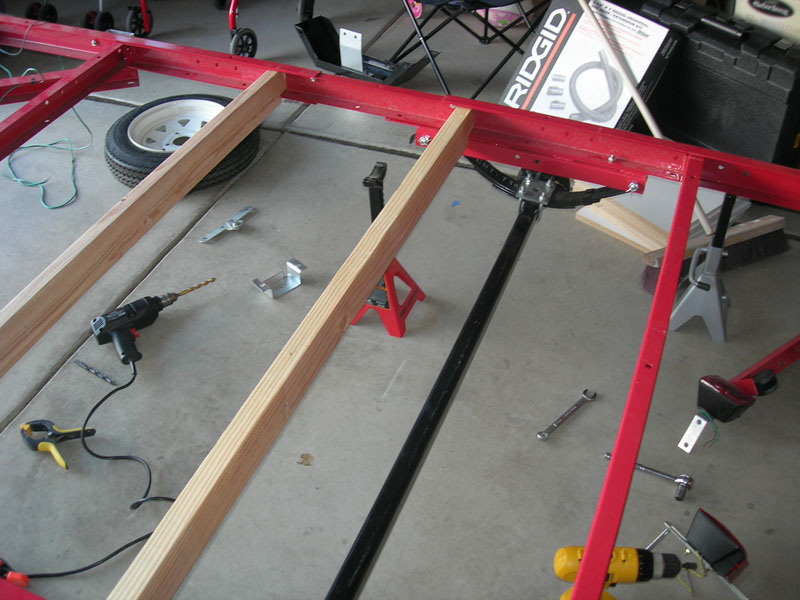
2x4s were notched out as new crossmembers. I’ve still to drill holes in the side and put lag bolts in to secure them.
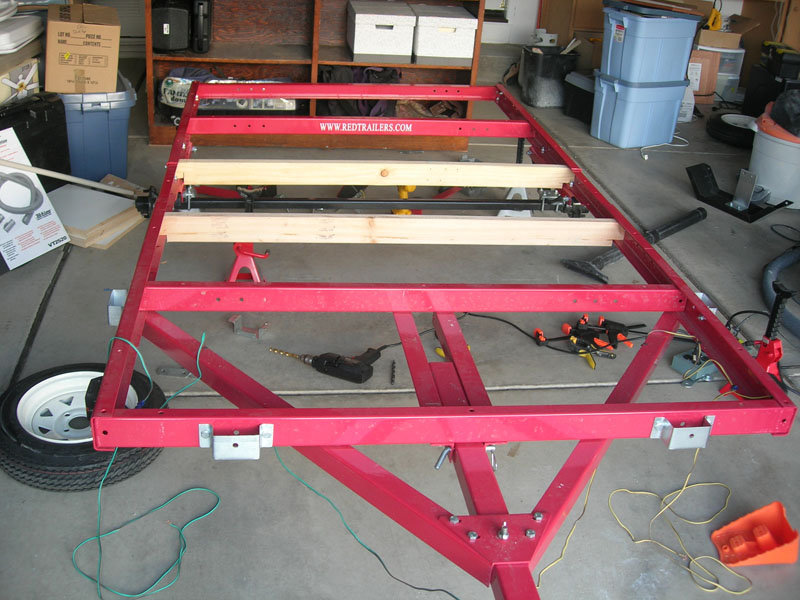
Ta Da. The axle is remounted, and things are looking up.
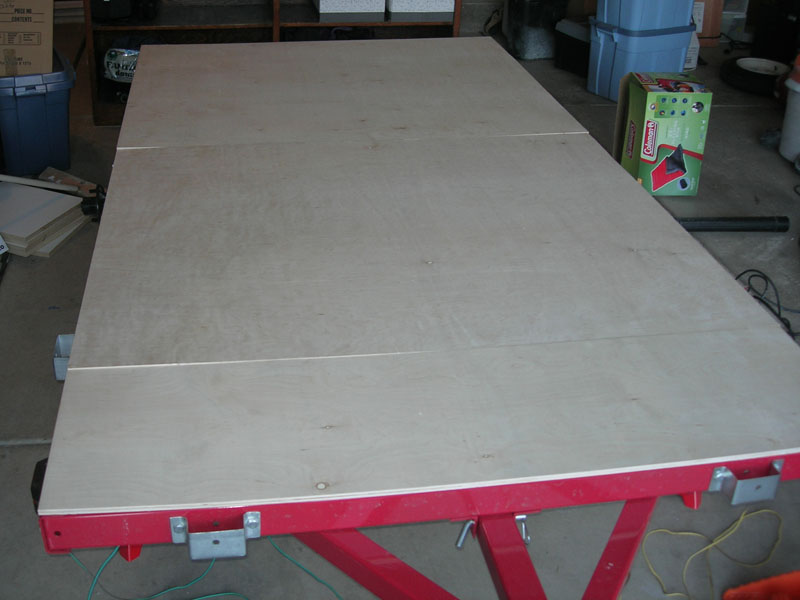
This is 1/2" birch plywood, and I’m going to bolt this right to the frame. Laying down on this seems pretty rigid.
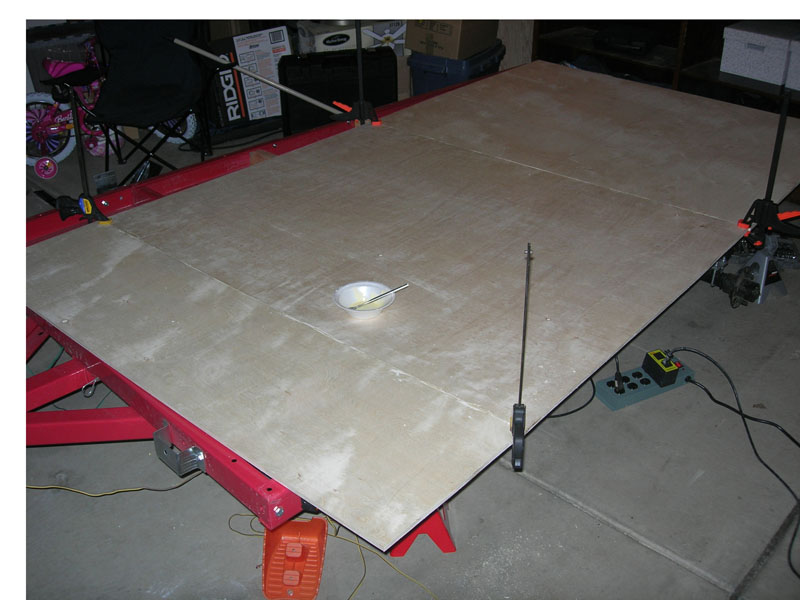
But first, I’ve got to glue these together first. I used a biscuit joiner and a bunch of biscuits in the two joints. It’s gluing up now, and I’ll see if this all worked when I check it tomorrow. I may use this as an opportunity to try out my newly acquired epoxy skills (obtained elsewhere on this board), and maybe a little bit of fiberglass to seal up the bottom.
Epoxying the Underside
March 8, 2007
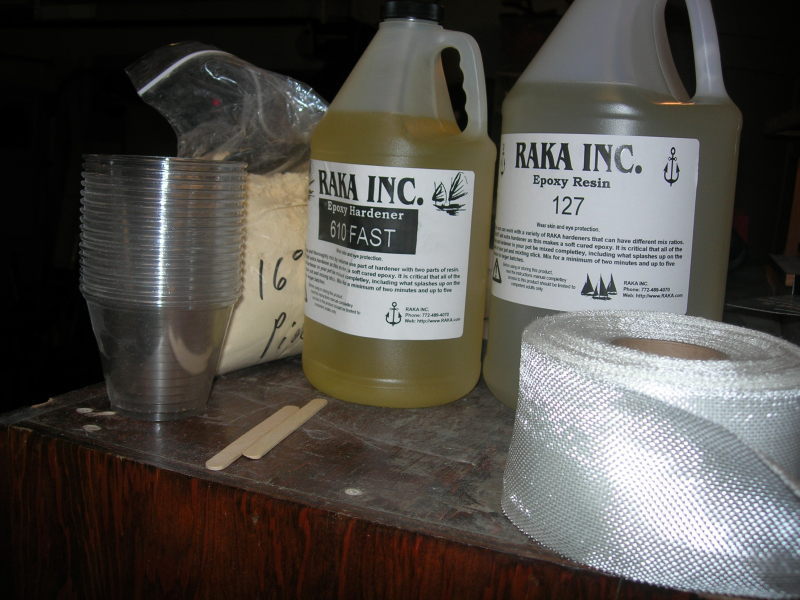
I finally got my supplies from Raka. When I ordered it a week ago, it was about 40F outside, so I thought I’d get the fast curing hardener, figuring it would give me about 30min at that temperature. Wouldn’t you know it, but it suddenly decided to become spring, and we’re expecting 70F this weekend. So, I’ve got to work fast, and I’ll probably order the slow stuff soon.
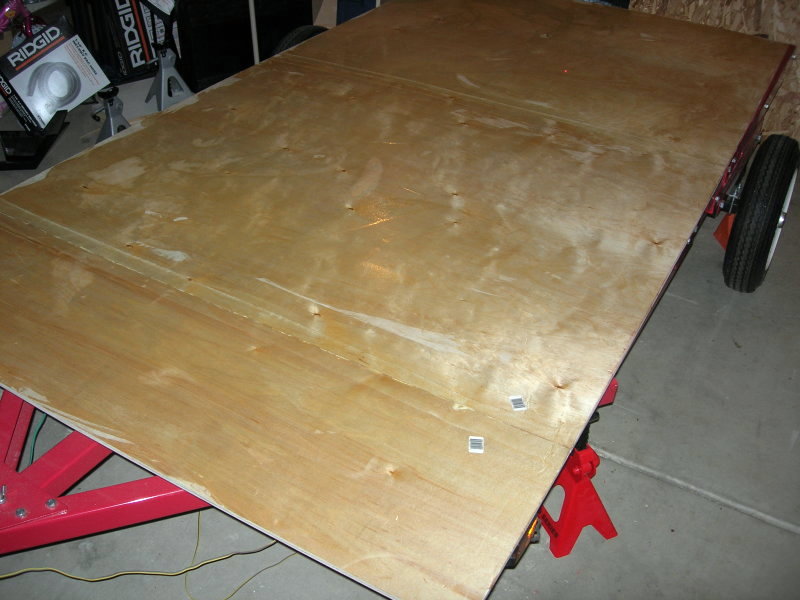
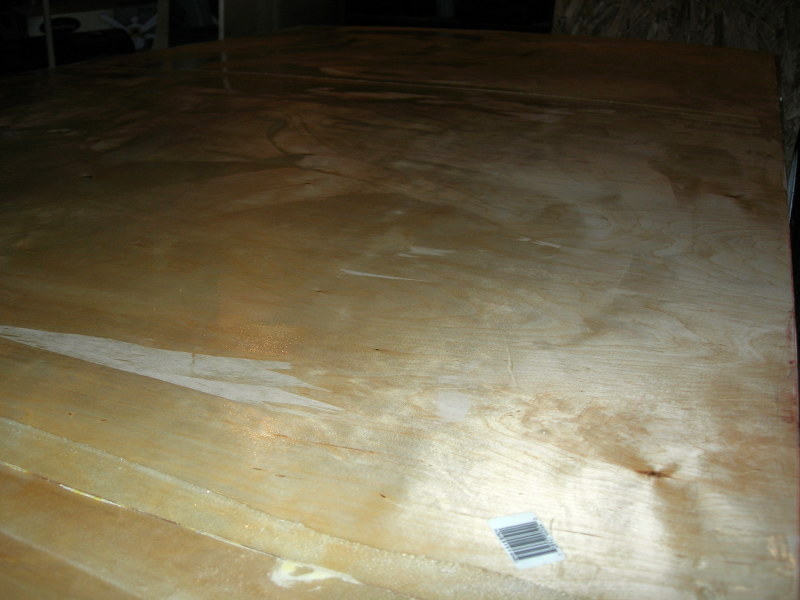
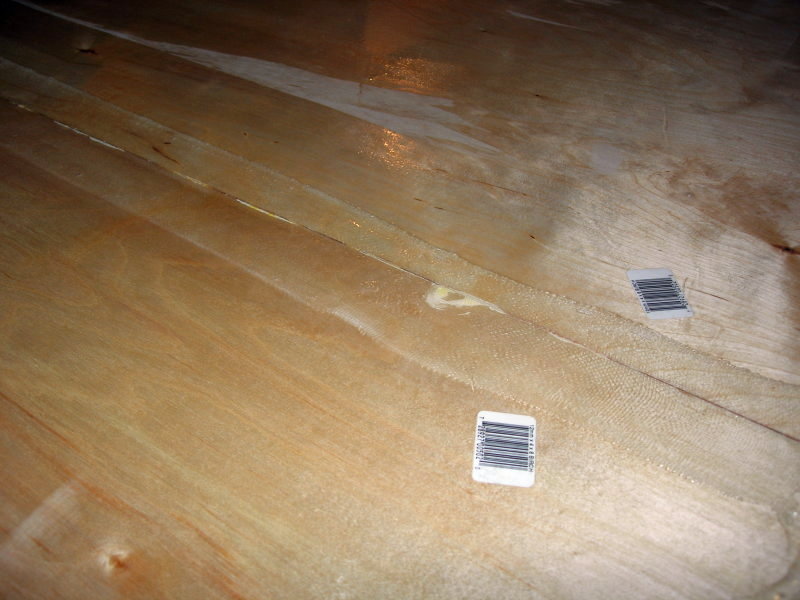
My first attempt at using epoxy. I mixed it as instructed with the fast hardener, and applied fiberglass tape over the seams. The epoxy was poured on the fiberglass, then spread around with a rubber spreader. I ended up using two of the plastic cups pictured above, filled about 2/3 full with resin and hardener. I was trying to spread a thin layer, just enough for some waterproofing of the bottom panel, but you can see where I wasn’t consistent. In a few places, I missed a space, but my hand was getting tired, and I figured it was close enough. You can see where the edges of the fiberglass tape stick out. Yep, those bar codes are in there for good now.
More Epoxy
March 9, 2007
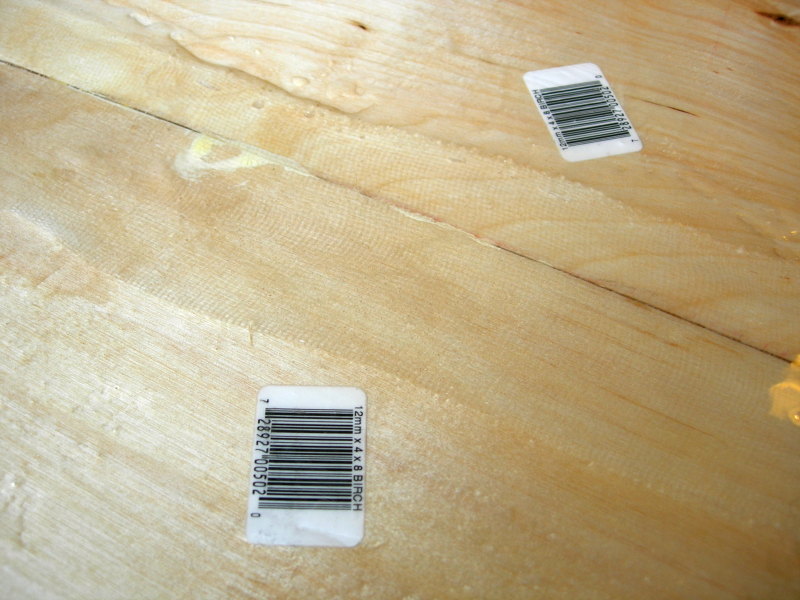
The epoxy is now dried, but the fiberglass tape left quite a raised edge on one side of the cloth, as you can see in the picture. If I use this again, I may have to cut this off, or it’s going to keep sticking up. This must be why some people don’t like the fiberglass tape, since the ends are wrapped back in on themselves, but instead cut from whole cloth.
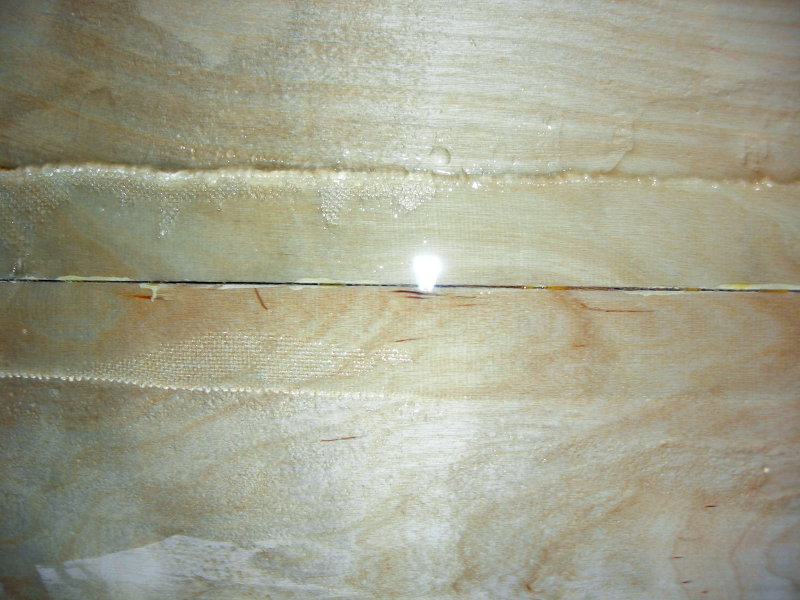
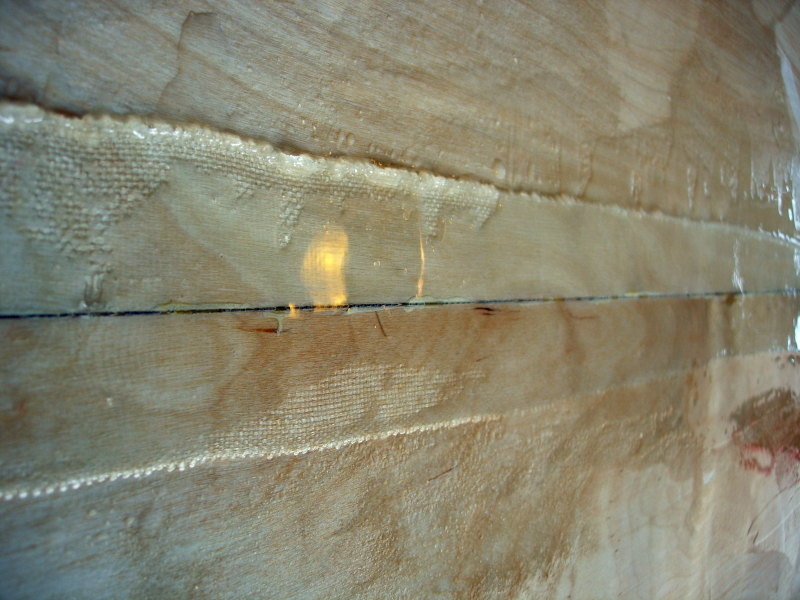
It also didn’t cover as well as I’d hoped. It’s on the underside, and doesn’t really matter, but I want to see what happens if I put more epoxy on. I did. The first picture shows a spot where I purposefully didn’t cover the whole thing, so you can see the cloth, then the thicker epoxy which covered it up.
Raising Walls
March 10, 2007
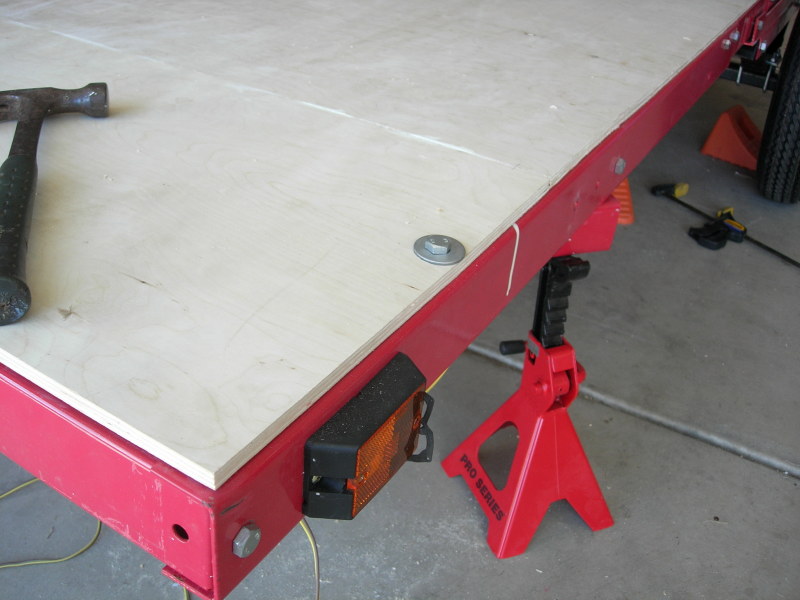
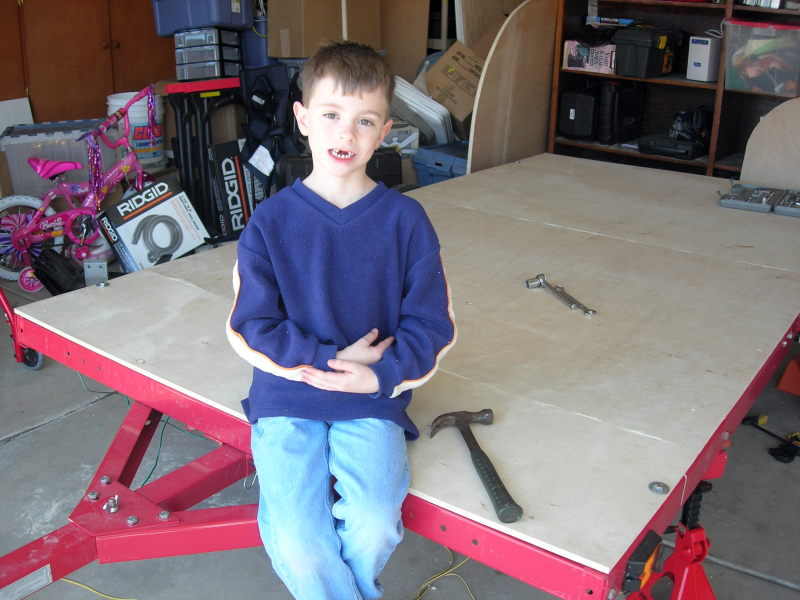
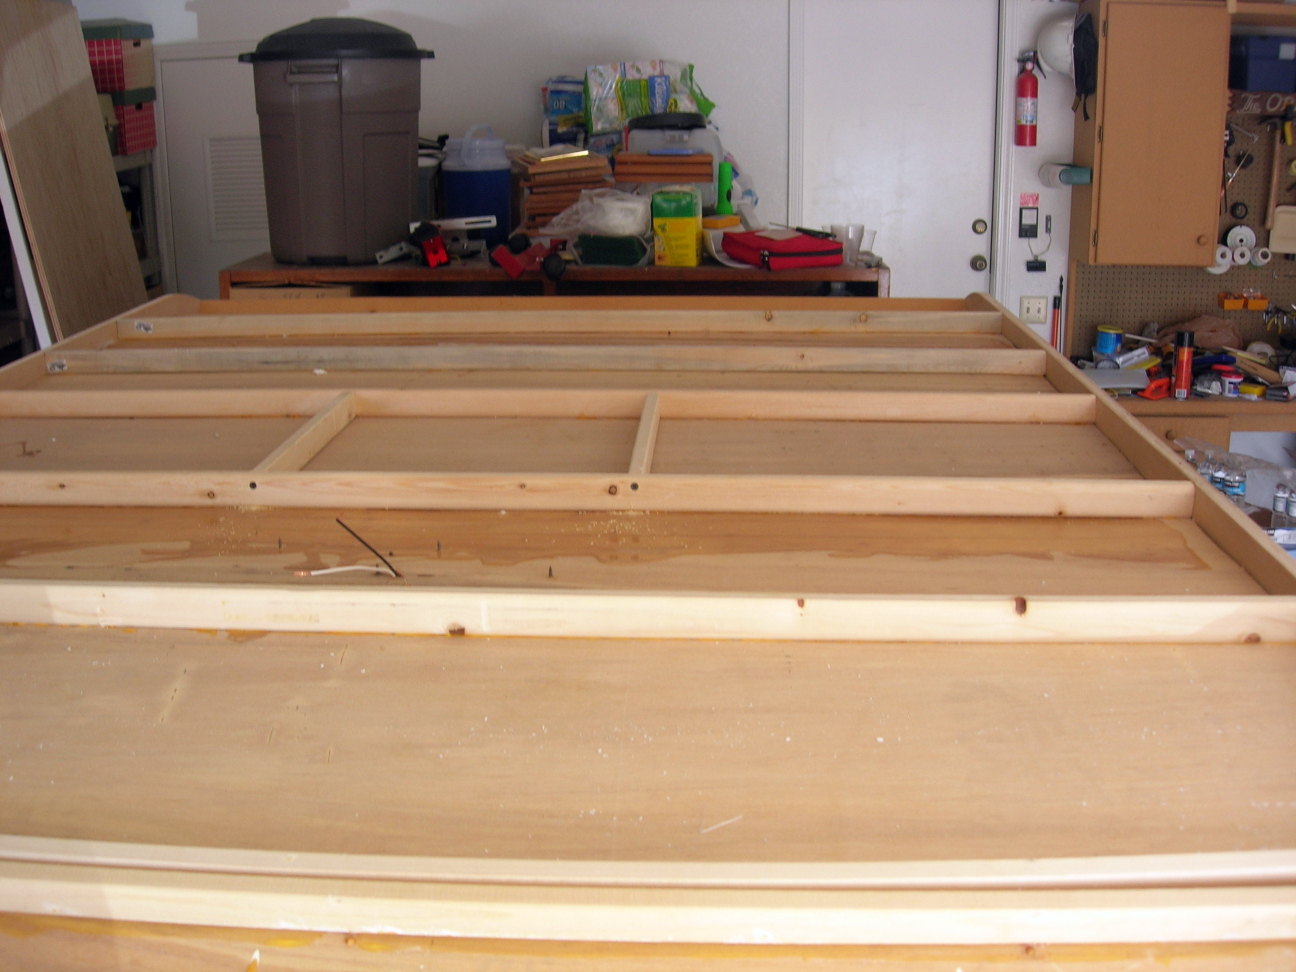
Bolting the floor onto the frame, with the epoxy side down. My neighbor convinced me to use large washers in this step, which I hadn’t planned on, necessitating another trip to Home Depot.
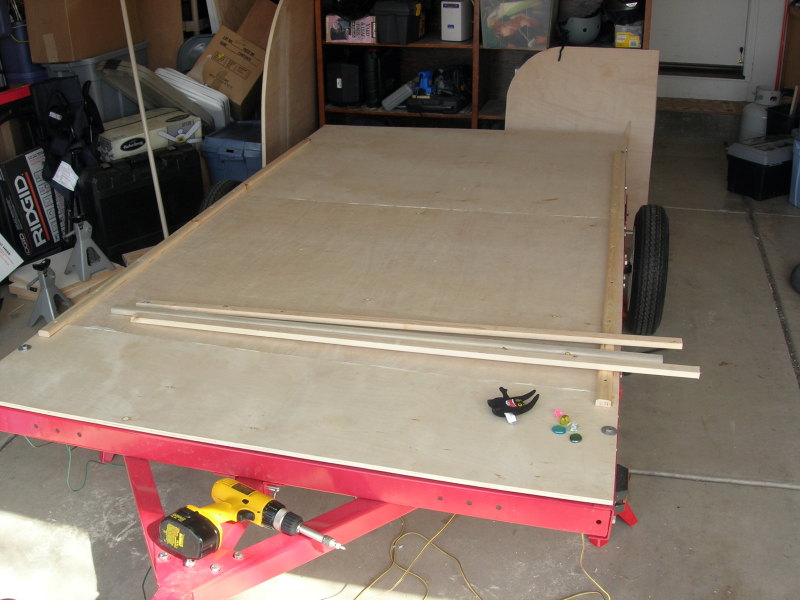
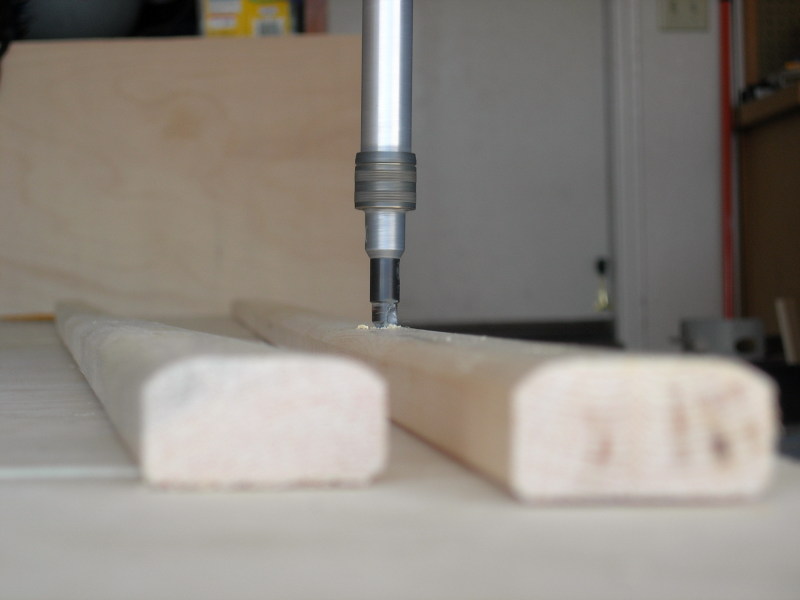
Since the walls are resting on the floor, I needed something to screw them to. So, I used 1x2’s. Justin took the second picture as he was playing with the camera, and I thought it was pretty nice.
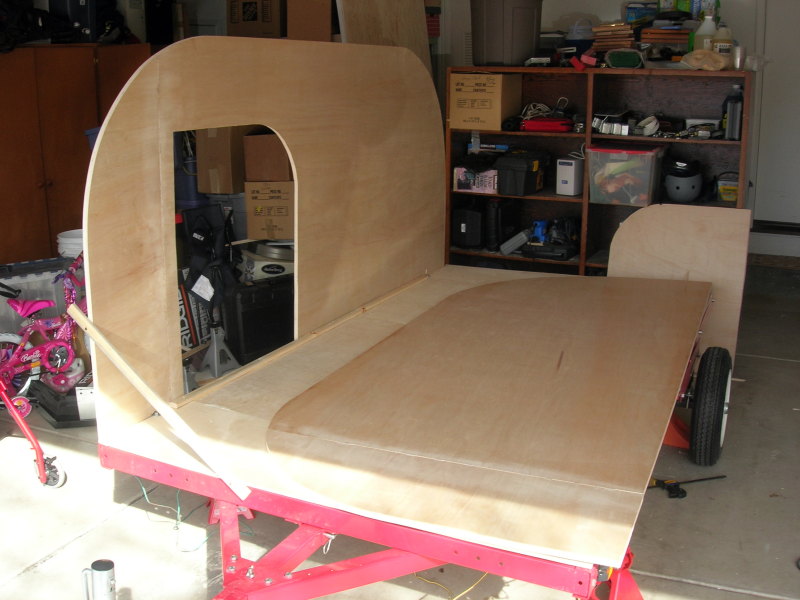
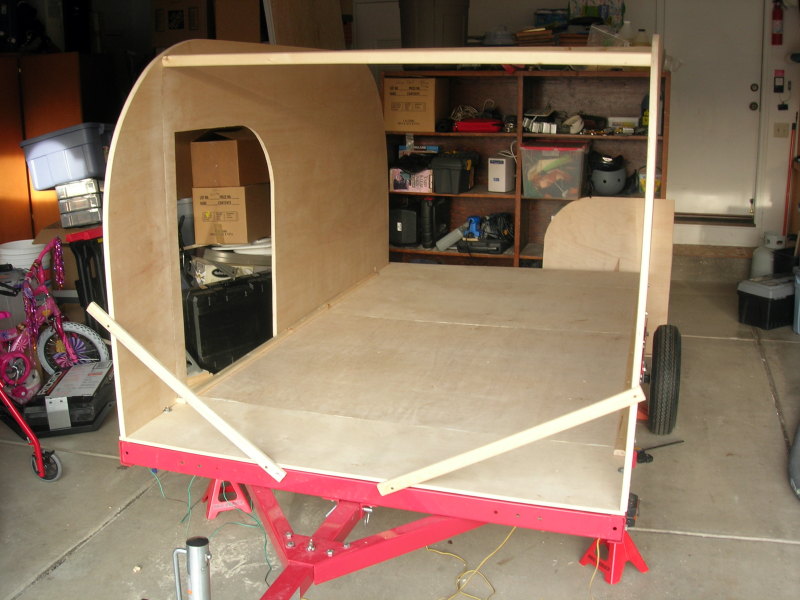
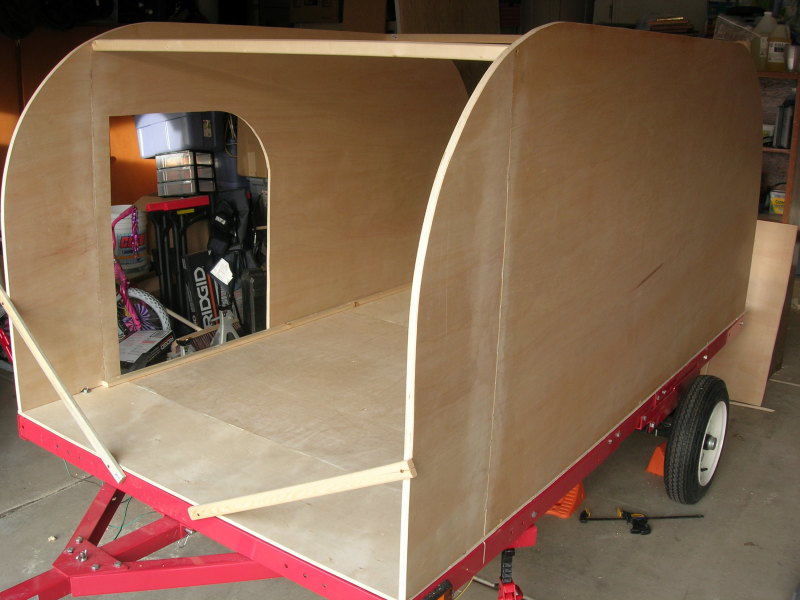
I had already cut out the sides a couple weeks ago, and up they went. Since the trailer is 9’ long, I had to join another part of a piece of plywood to make it fit. I used lots of biscuits and glue, but it’s not nearly as strong as the main sheet. I’m hoping that after I put it all up with all of the cross pieces, that it will be strong enough.
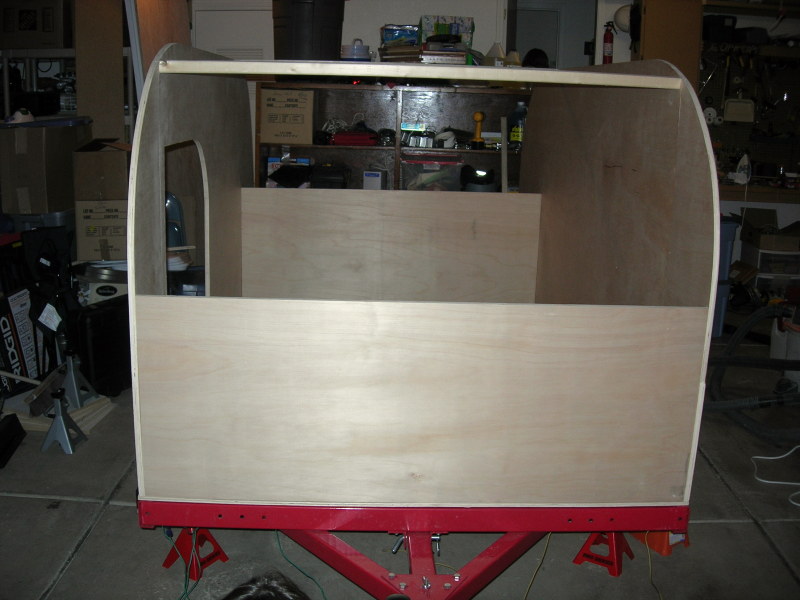
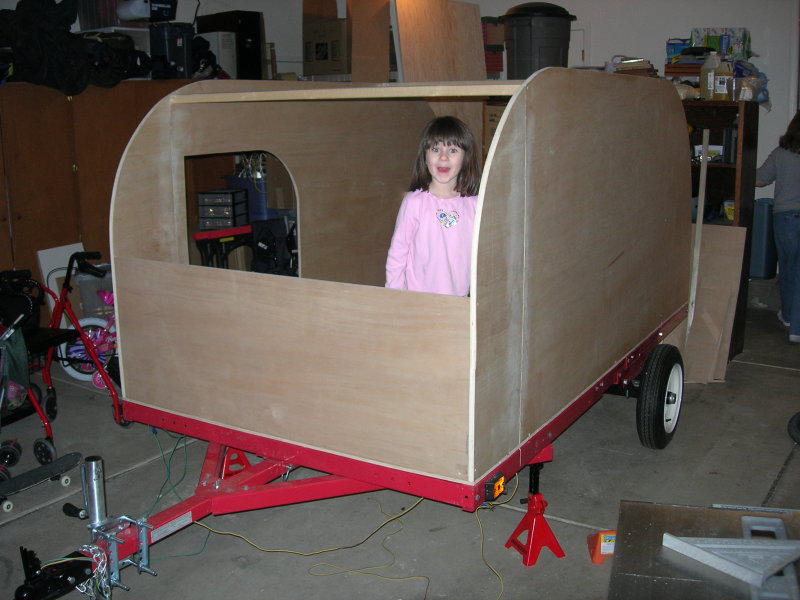
Putting a bulkhead in the front, and on near the galley really stiffened it up, and allowed me to get rid of the temporary crossbracing.
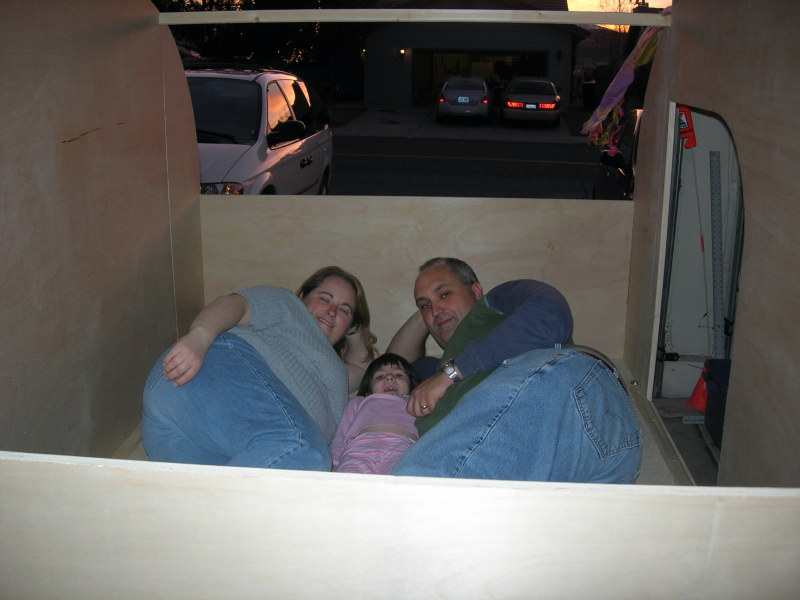
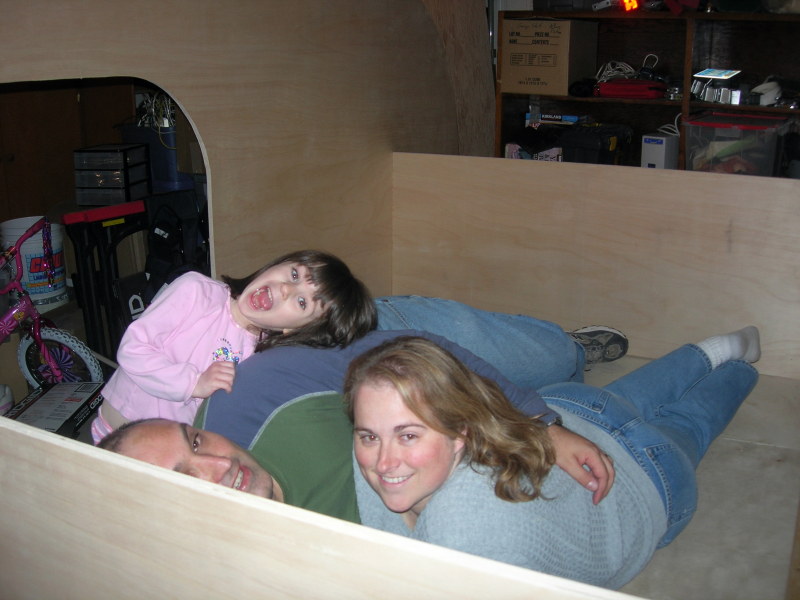
Comfy! Just need a roof.
The Trial Roof
March 18, 2007
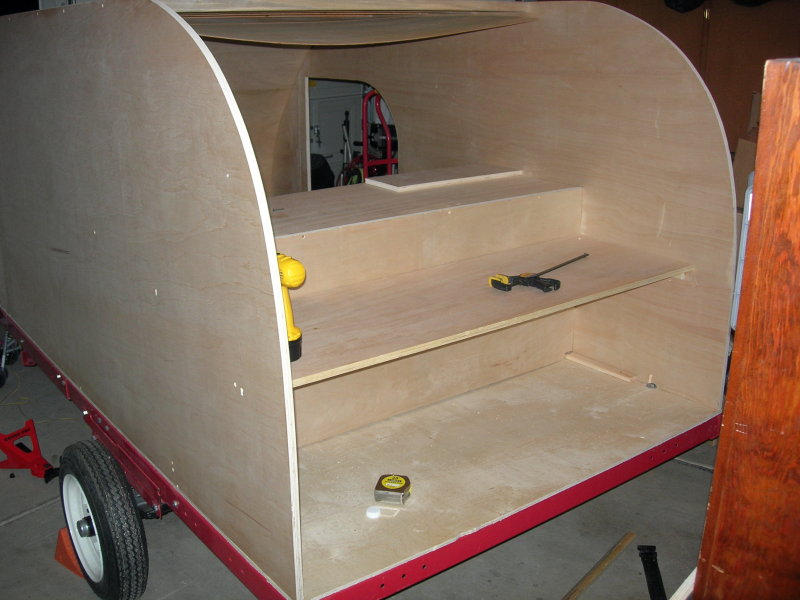
I’ve been plugging along with this durring the evenings. I started putting the galley in the back, or at least the countertop, and bottom of the interior cabinets. The countertop makes it seem like it might actually be usable someday, but I think I’m going to wait a little bit until I really finish the galley. I think I’ll work on the ceiling and electrical, and get the general structure finished, then I can come back and finish this later.
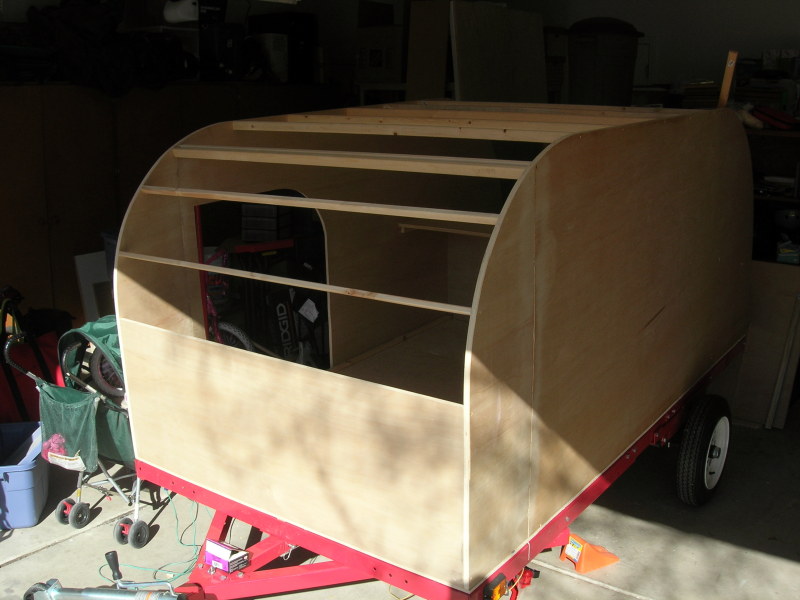
So, I put the roof spars themselves, which are exactly 58 5/8" long. Except for the bulkhead near the bottom, that’s 58 1/2" long for some reason. So, my interior roof is going to have to taper a bit when it’s wrapped around. Two spars along top are spaced 14 1/2" for the vent I’ll install later.
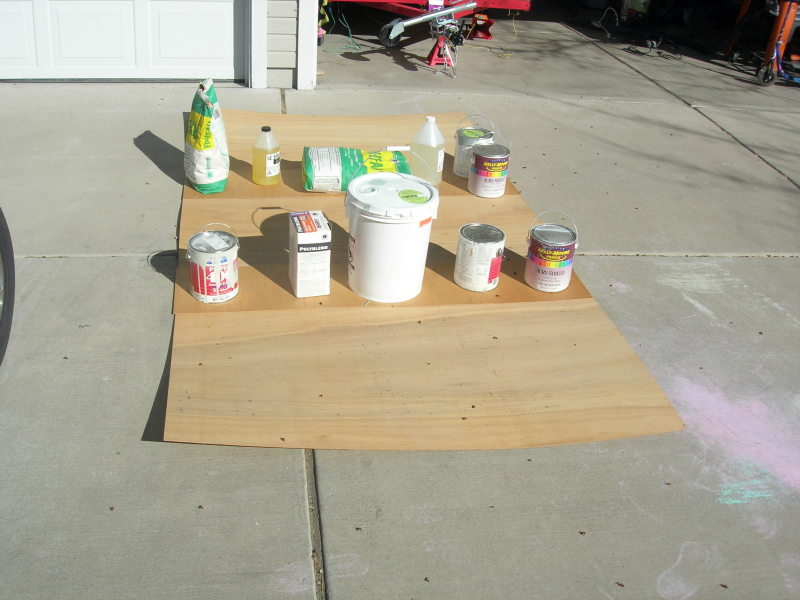
I’m going to skin the interior roof in 1/8" plywood, and I get it home from Home Depot, and realize it’s only 3’x7’ sheets. I figured I’d glue three of these together to get over the 9’ needed in length, and if they were 4’ wide, I’d have room to spare, but 3’ wide sheets just make it. They’re cut to 58 5/8" wide, and glued together with 12" pieces on the back and wood glue.
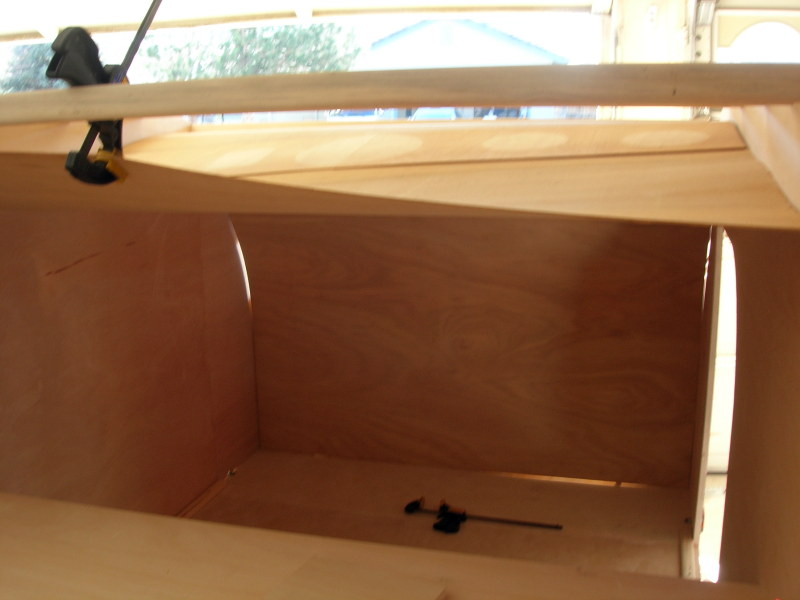
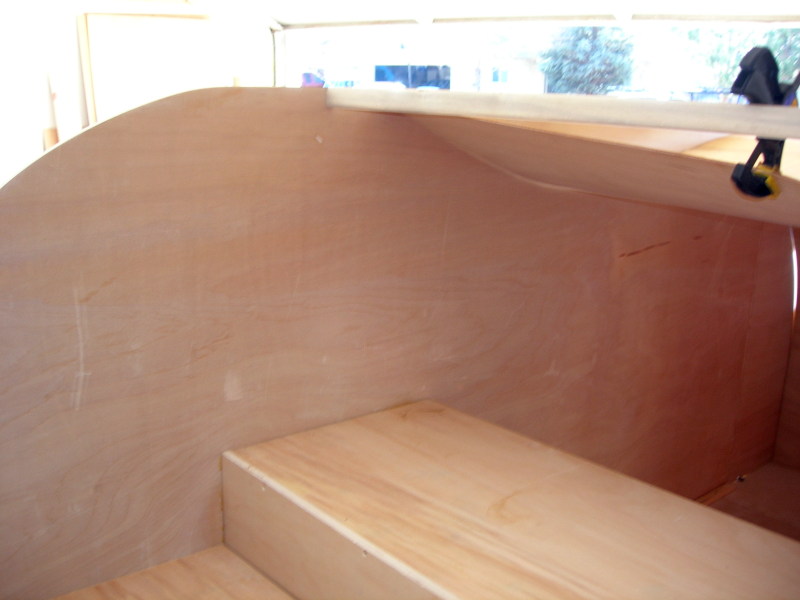
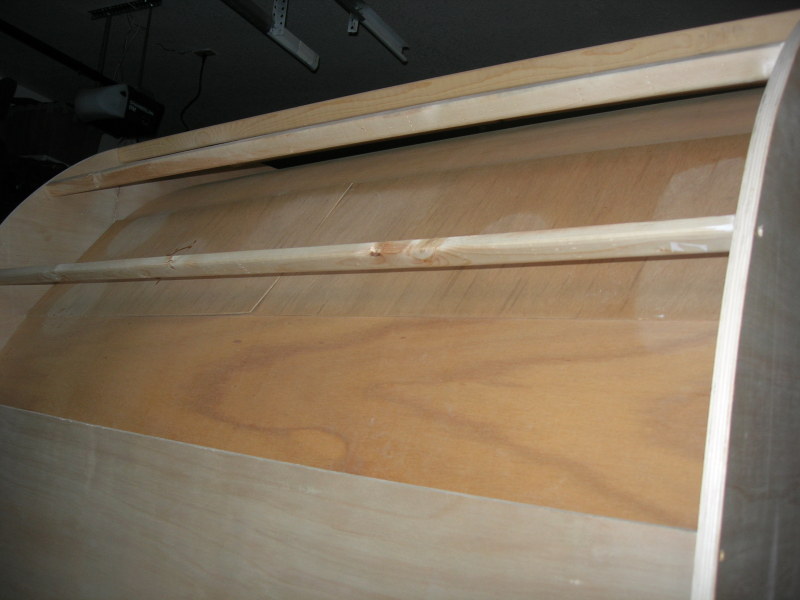
They dry for 24 hours, then I try to see how they fit. It’s too short, and doesn’t wrap all of the way around to where the galley door is supposed to be. Also, where the 12" joints are don’t bend very well, which is not really fatal on the interior, but this won’t work on the exterior.
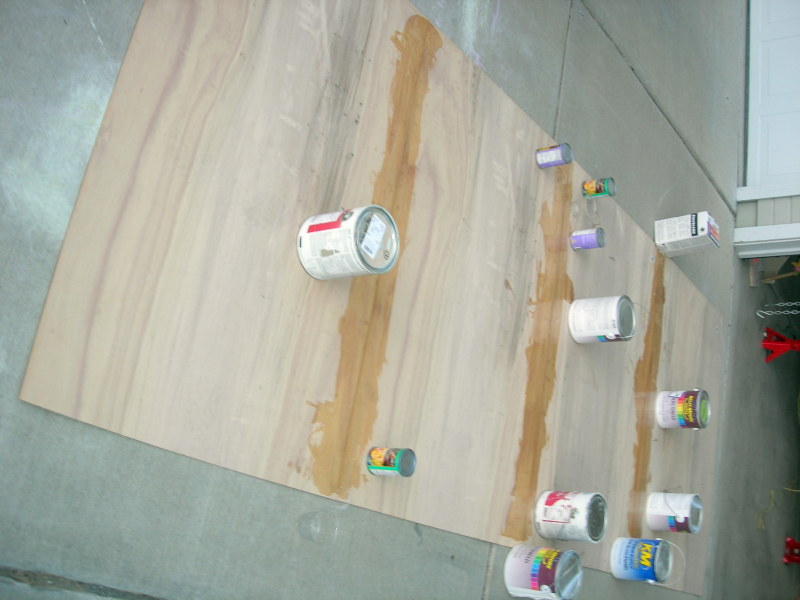
Given both problems, I’m going to try again, but I’ll save the first attempt in case this next approach doesn’t work. Instead of gluing with scrap wood, I’m trying to use fiberglass tape and expoxy. It’s curing now, and I’ll see if this combination will actually bend around an interior corner sometime this week.
Skinned On
April 1, 2007
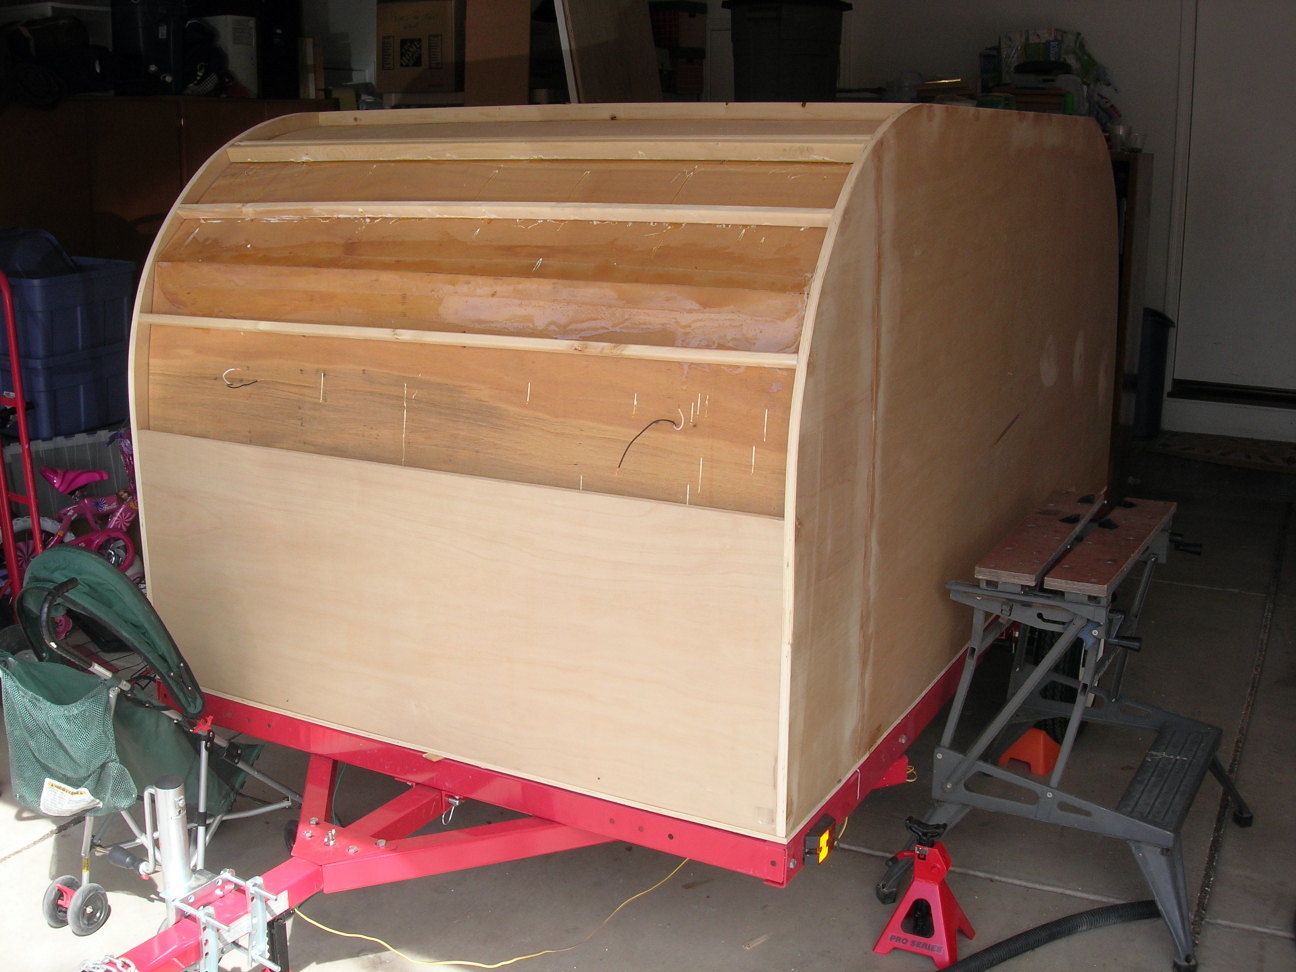
The epoxied room seemed to work well and holds together, but tends to have a sharp bend at the corners. I went ahead and installed it, but if I was to do it again, I’d probably glue 3 inch slats instead of the 12 inch. I’ve also put the space in for the fan.
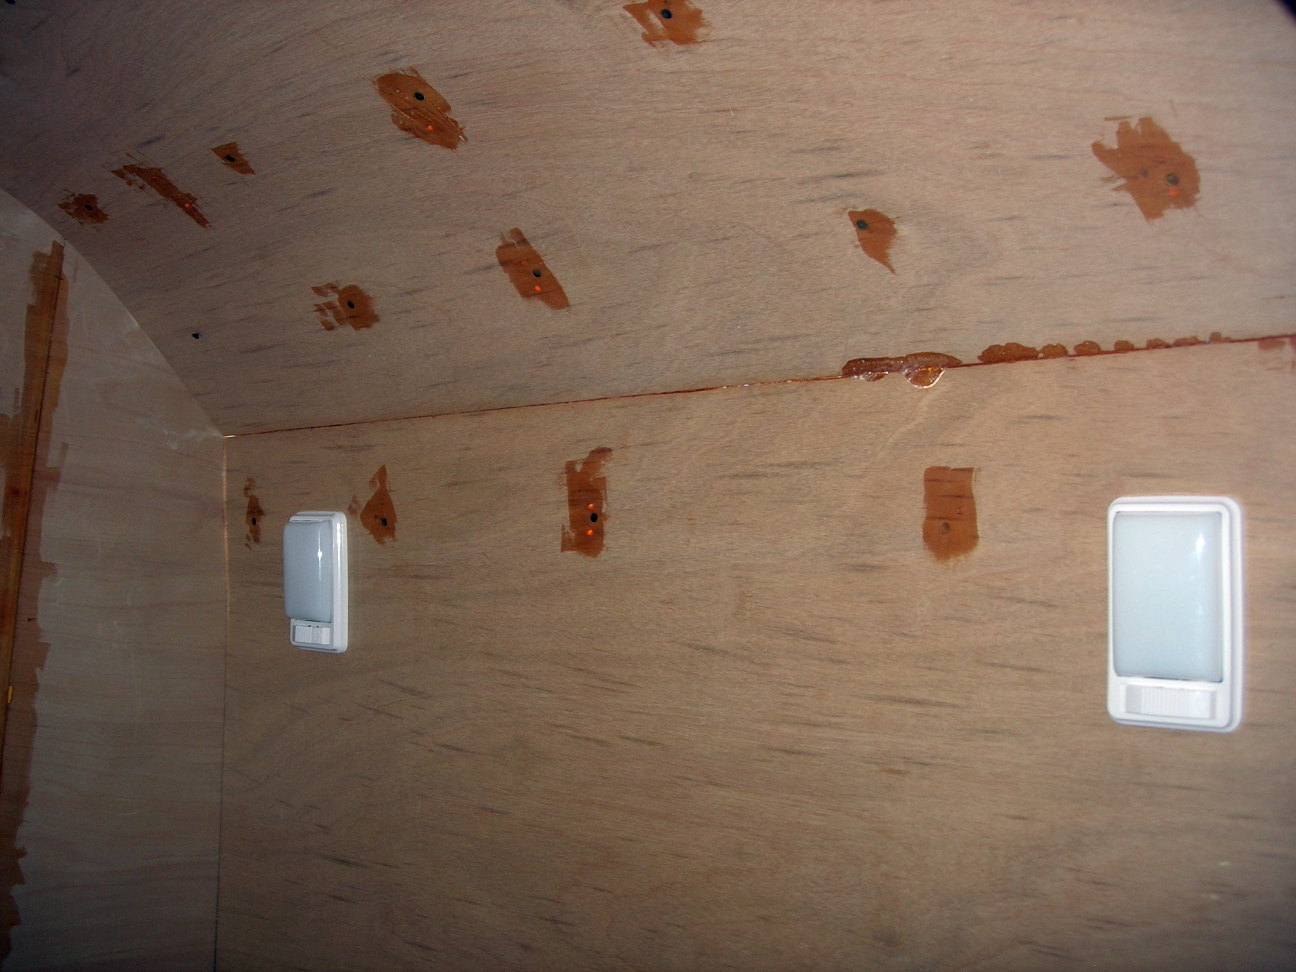
I was originally trying to not to have any visible screws inside, with the hopes of having a nice finish, but then I realized that I was having a hard time attaching to roof to the spars to be glued. Realization set it, and I ended up just going crazy with the screws. Paint will fix it, right?
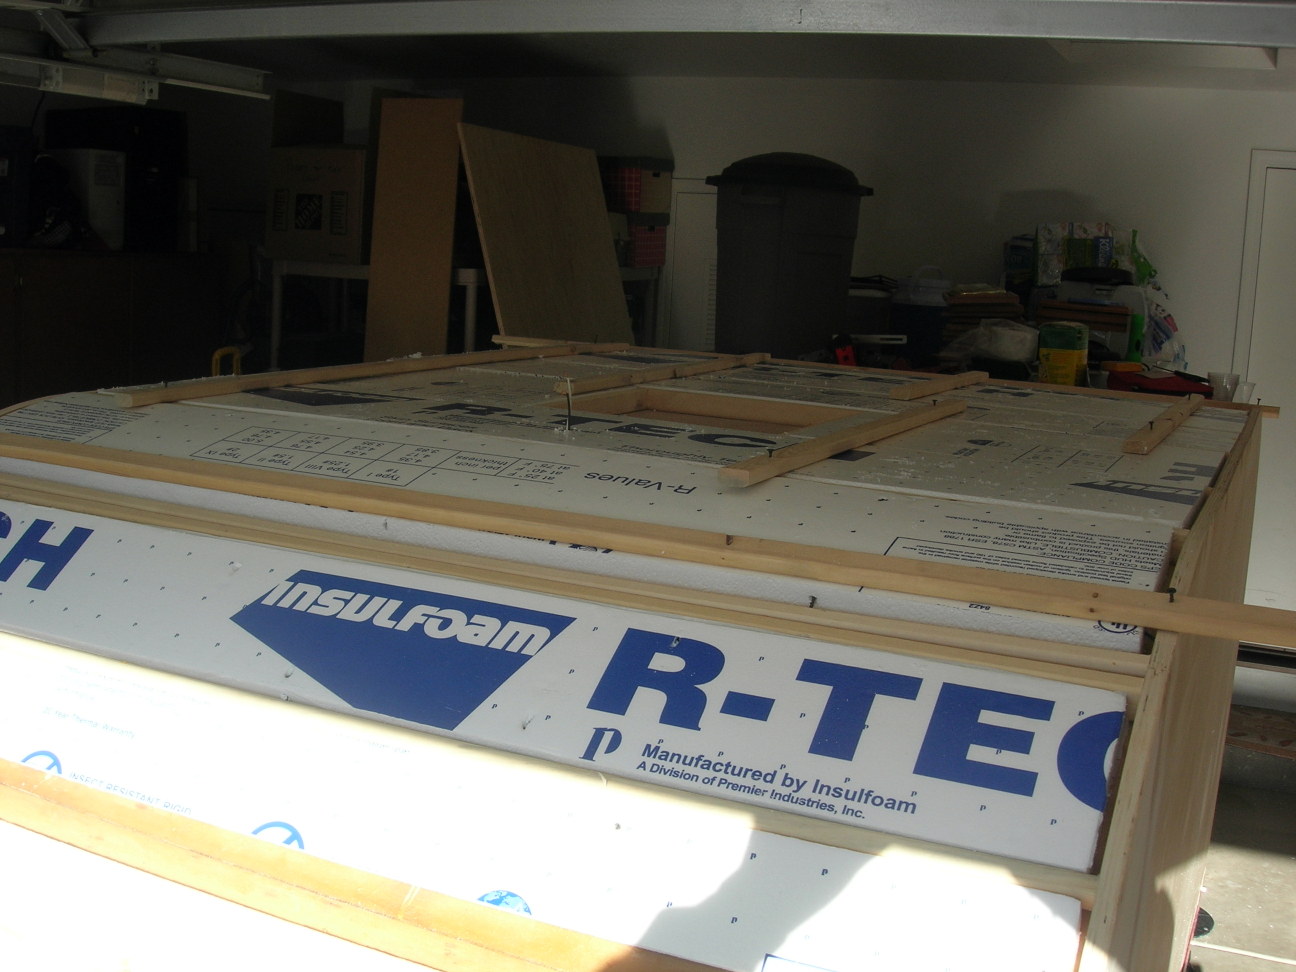
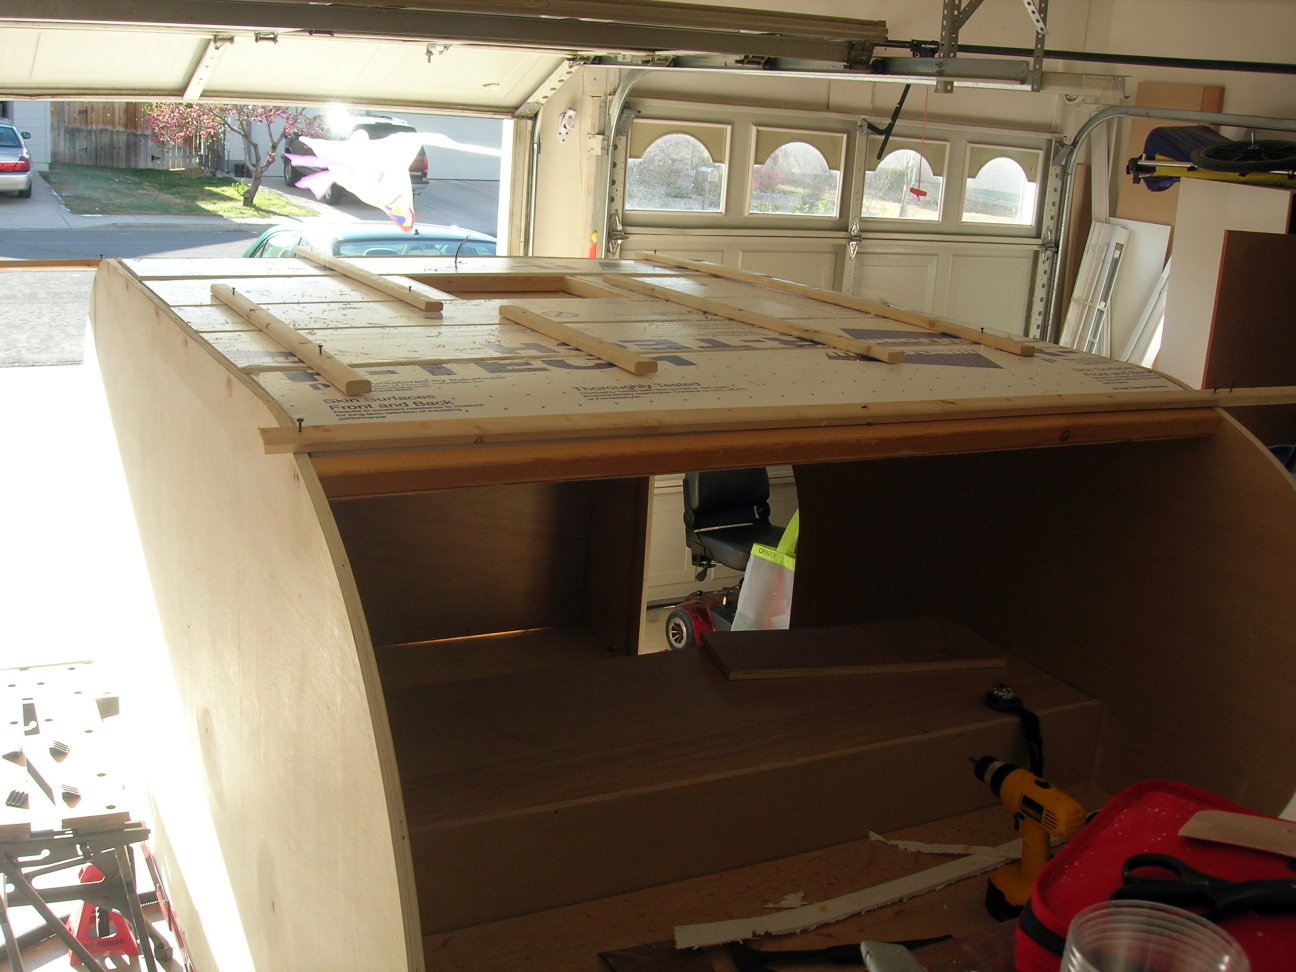
This stuff makes a mess, but I’ve got it cut to fit between the spars. The table saw works really well, as long as the vacuum is attached to it. All of the pieces are glued to the interior roof, then the temporary spars hold it down until it dries.
Foam and Wire
April 9, 2007
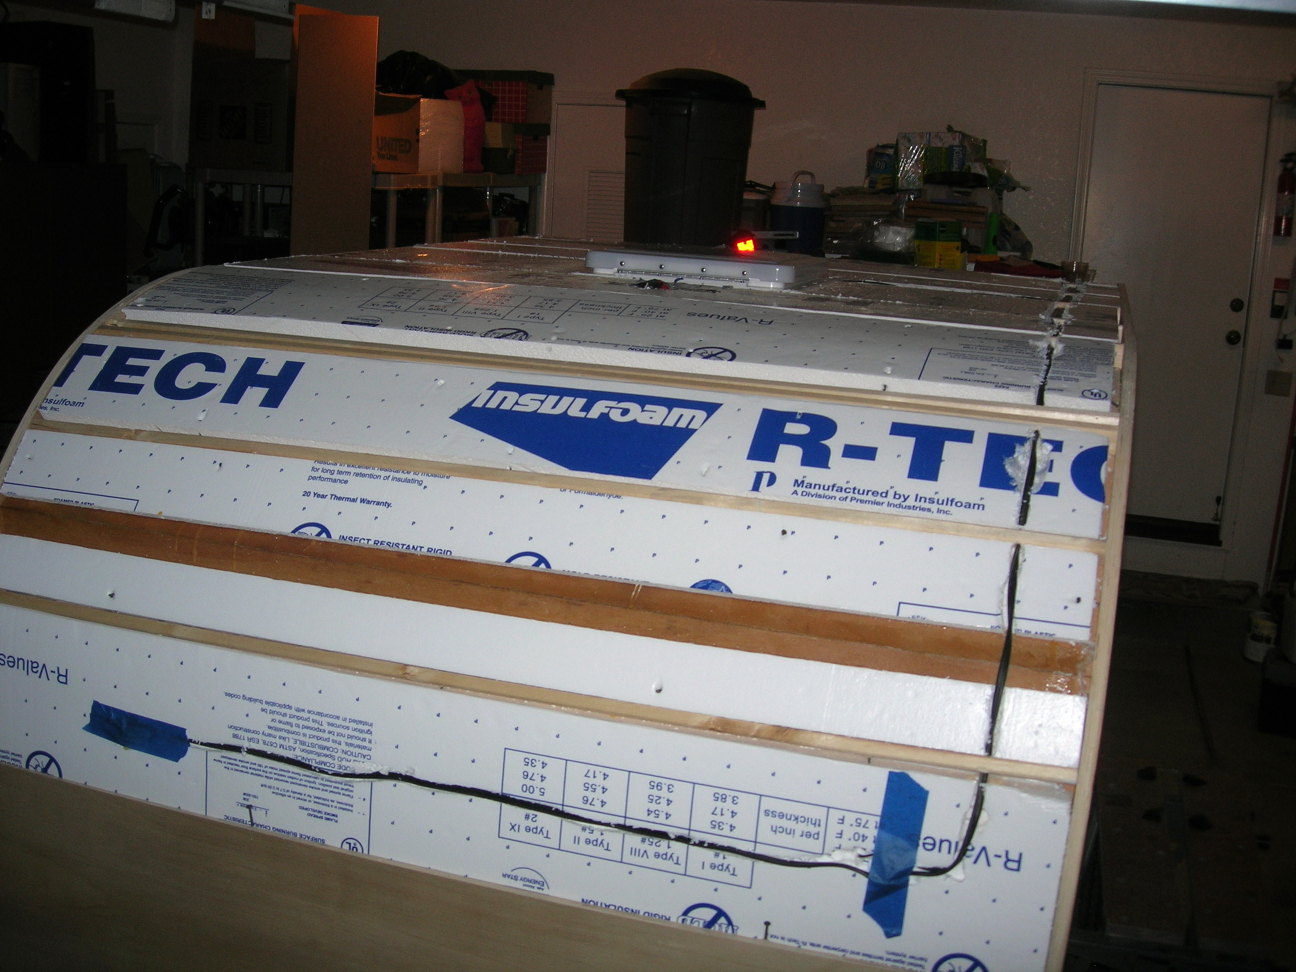
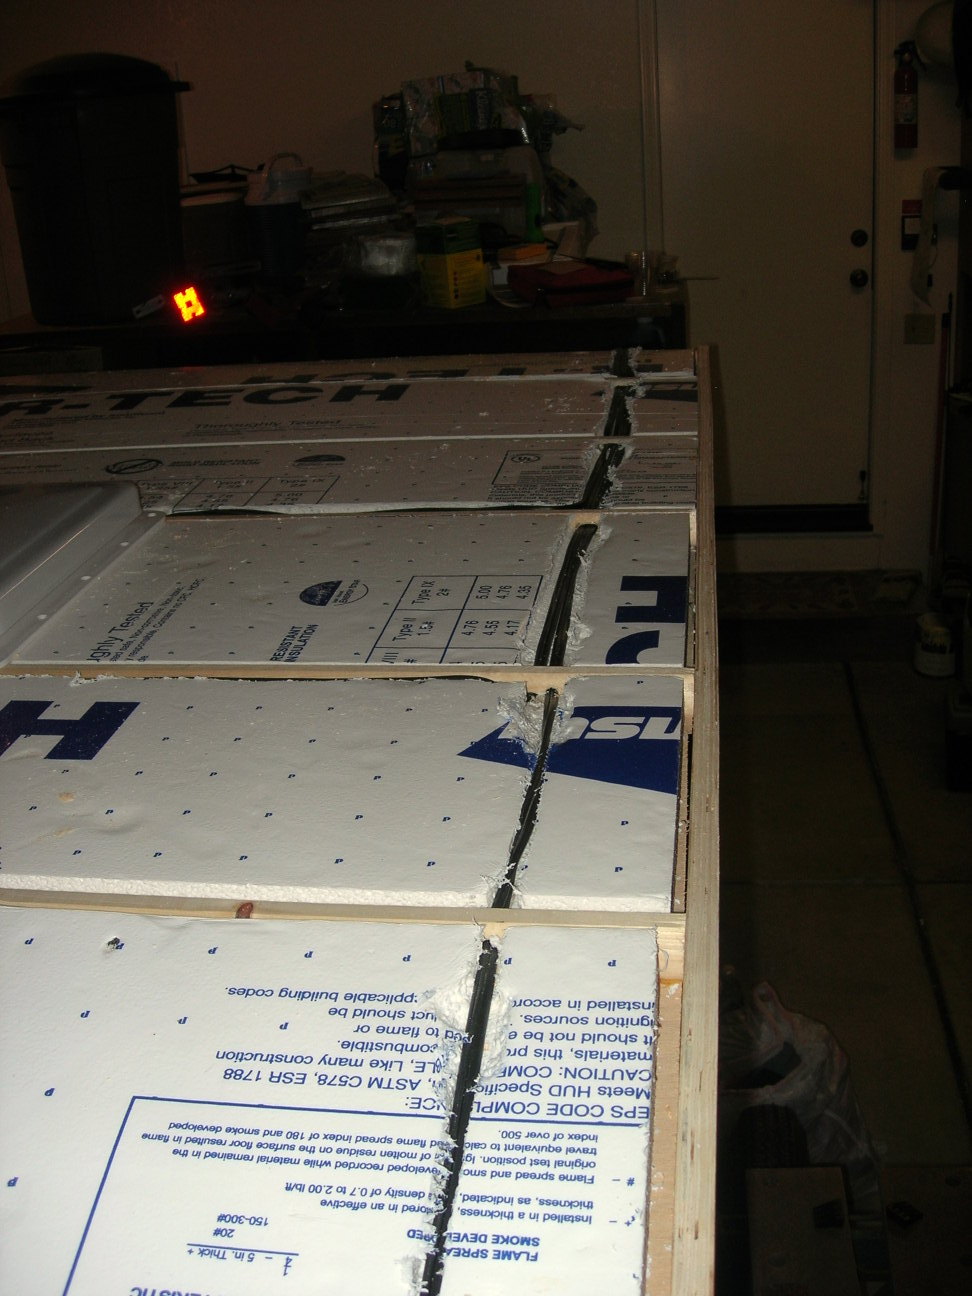
I cut styrofoam insulation to fit between the slats, and I’ve come up with my new rules for working with insulation.
- Don’t cut styrofoam in your garage. It makes a huge mess and the little pieces get everywhere.
- A table saw works really well and makes nice, quick, clean cuts, as long as you have the dust collection connected to it.
- Don’t let the dust collection come off of your table saw. It makes a huge mess and the little pieces get everywhere.
- A router with a top-bearing trim bit also works nicely to cut channels in your form for wiring.
- There’s nothing you can do about the router. It makes a huge mess and the little pieces get everywhere.
It all went together really well, but I’m sure I’ll be cleaning up the mess for the next year. Keep the vacuum very handy when working with styrofoam.
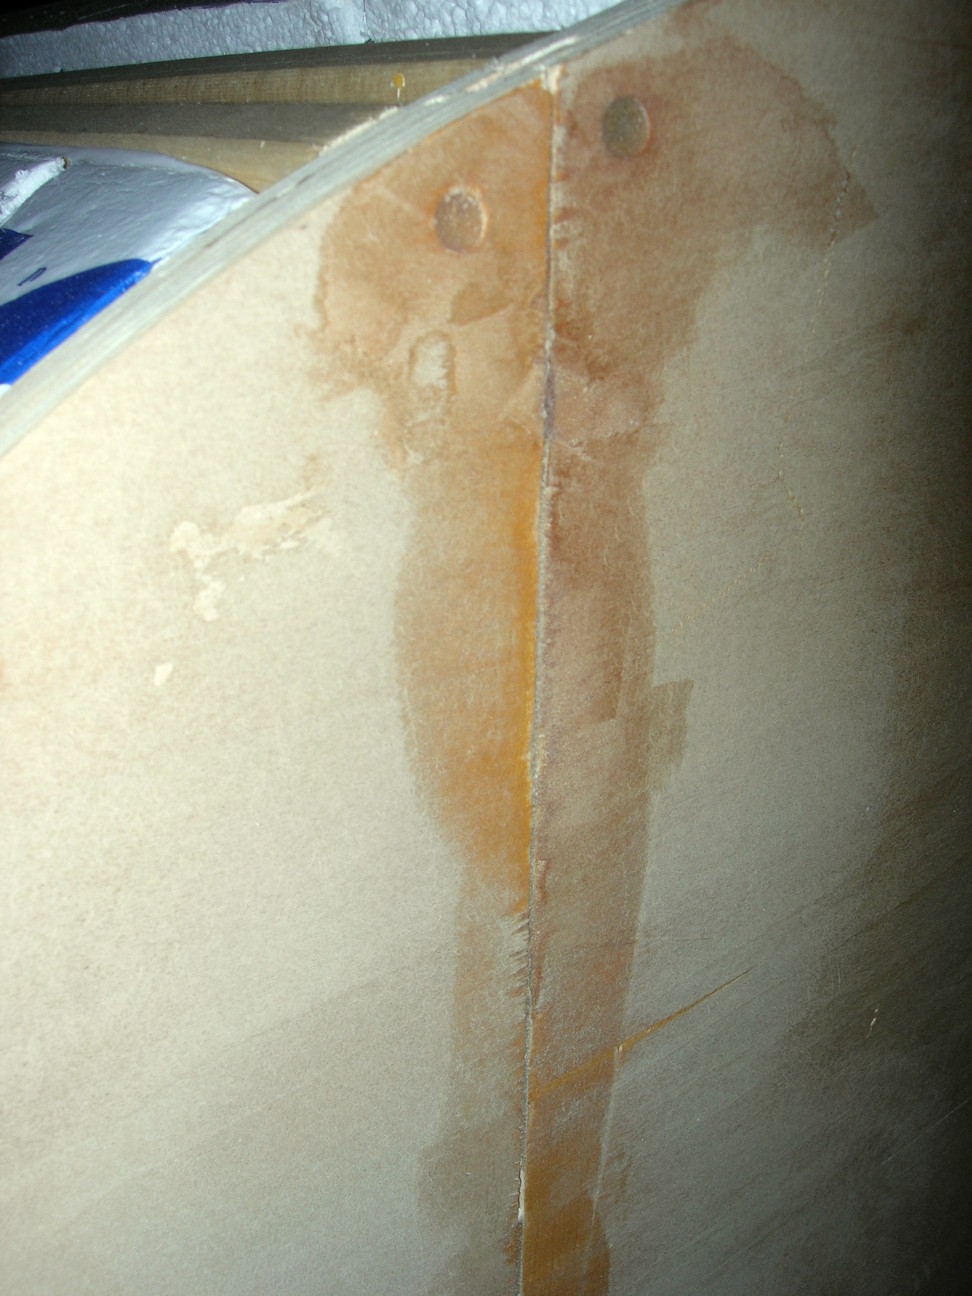
I also started going around and filling some of the holes and cracks (they need another coat). I used epoxy mixed with pine wood flour to give it some body.
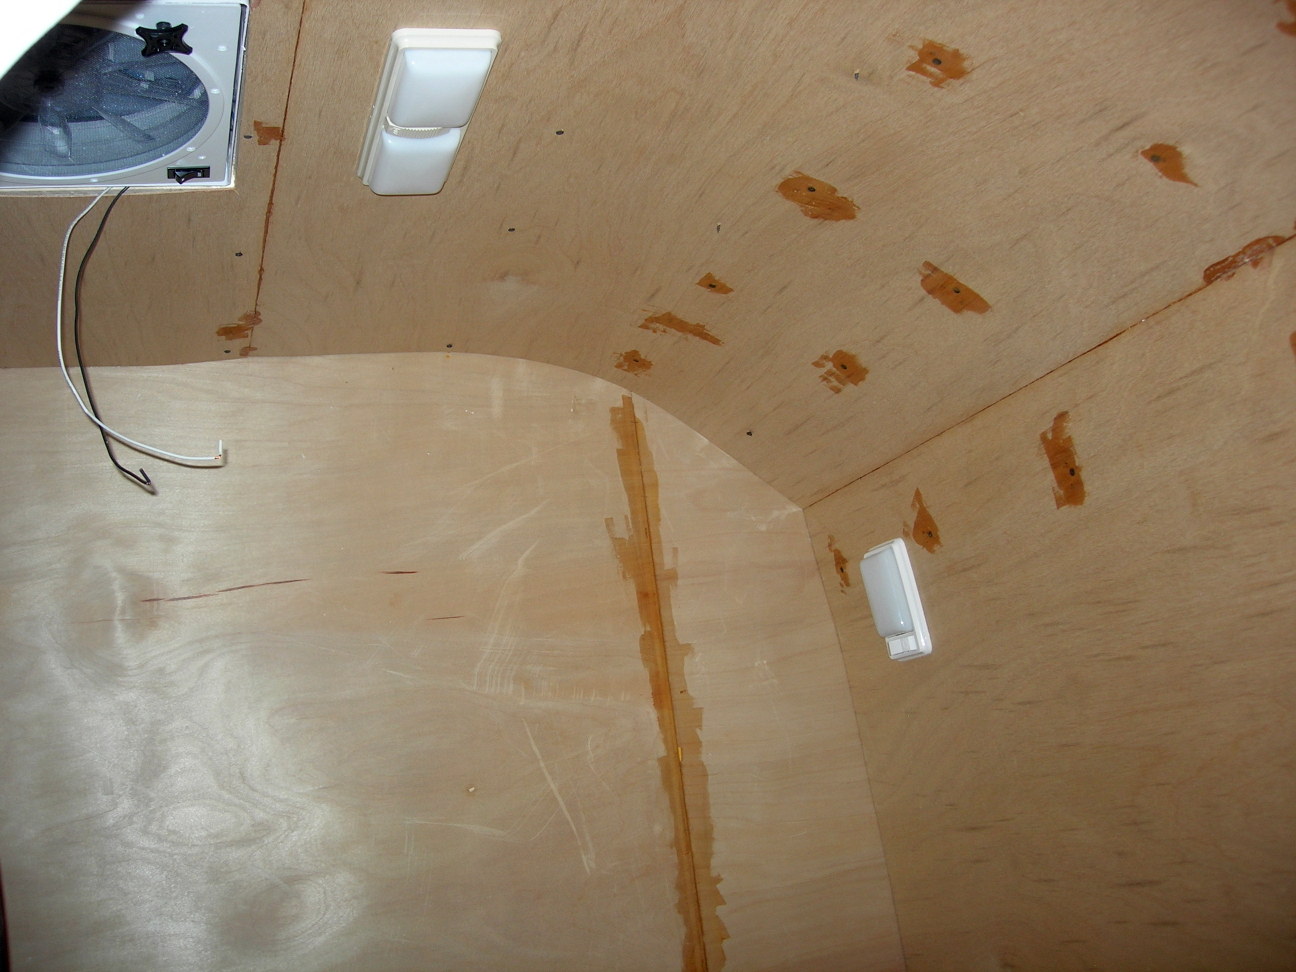
I got a handful of interior lights from Camping World. The Fantastic Vent also came in, so I cut out the opening for it. It’s still to be wired in. Started filling some of the many screw holes with filler.
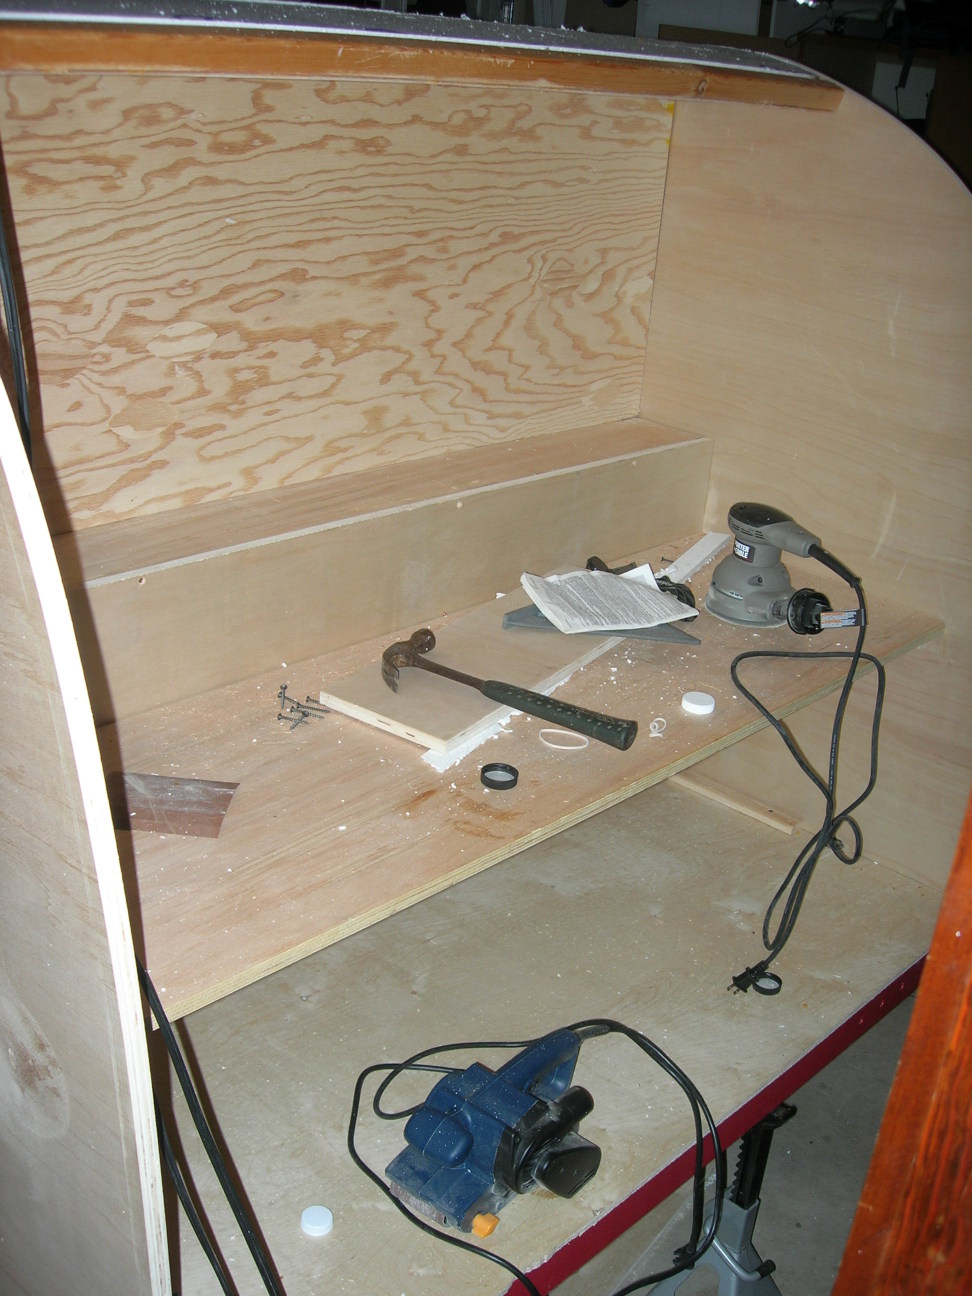
The bulkheads for the galley are done, giving a good idea of the space available for the galley. I imagine the cabinets are going to wait until other parts are done first.
Doors and Lights
April 15, 2007
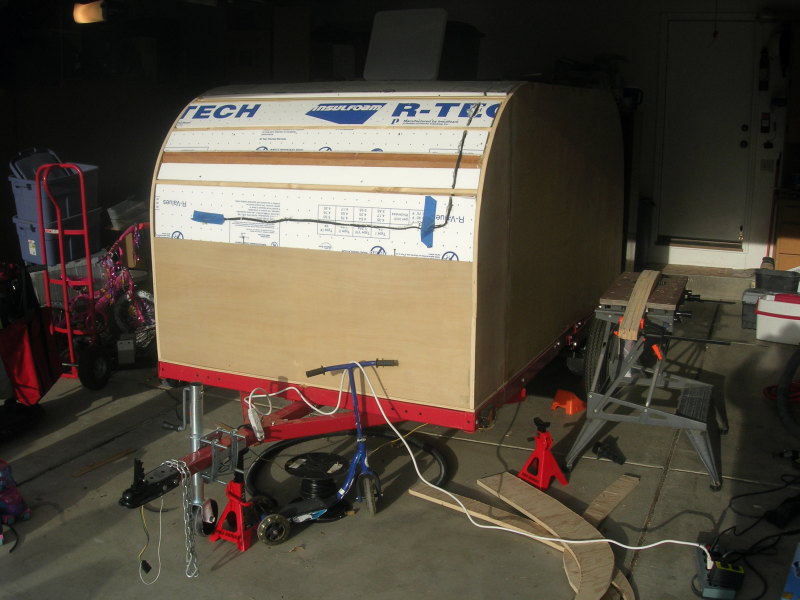
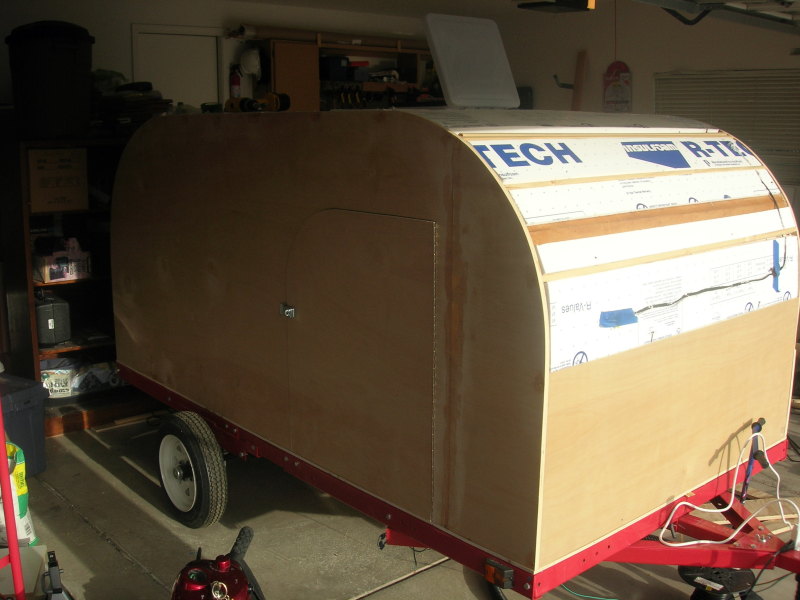
Here is the current status of the trailer. Notice the new door I just put on, and the fancy locking clasp to hold it closed. I’d like to put a real door latch here, but that’s not available at Home Depot.
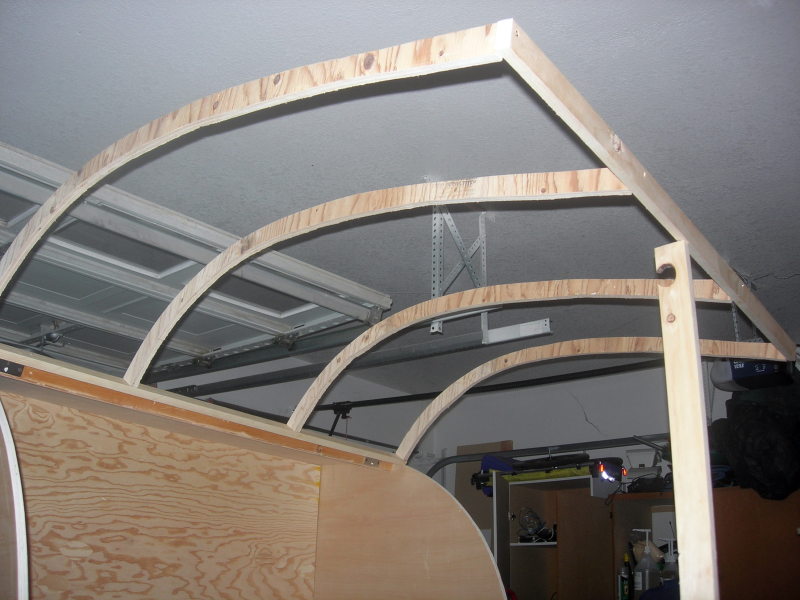
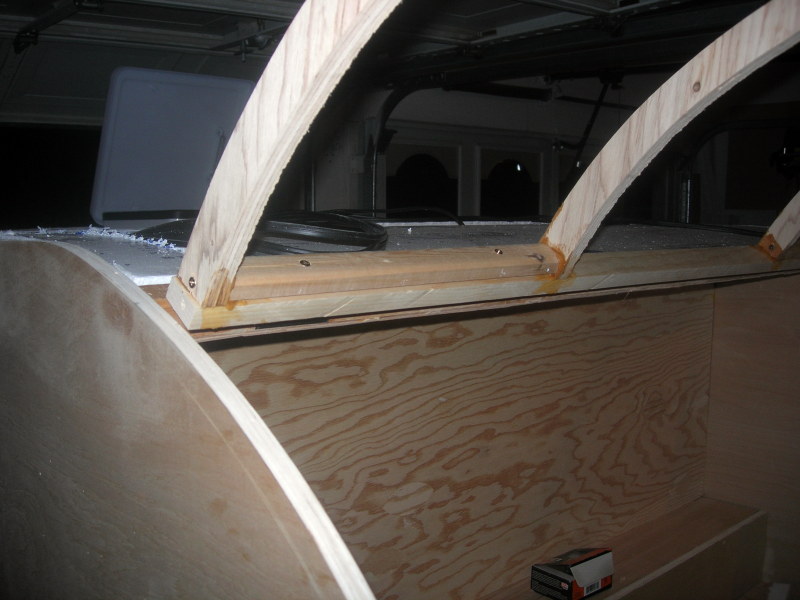
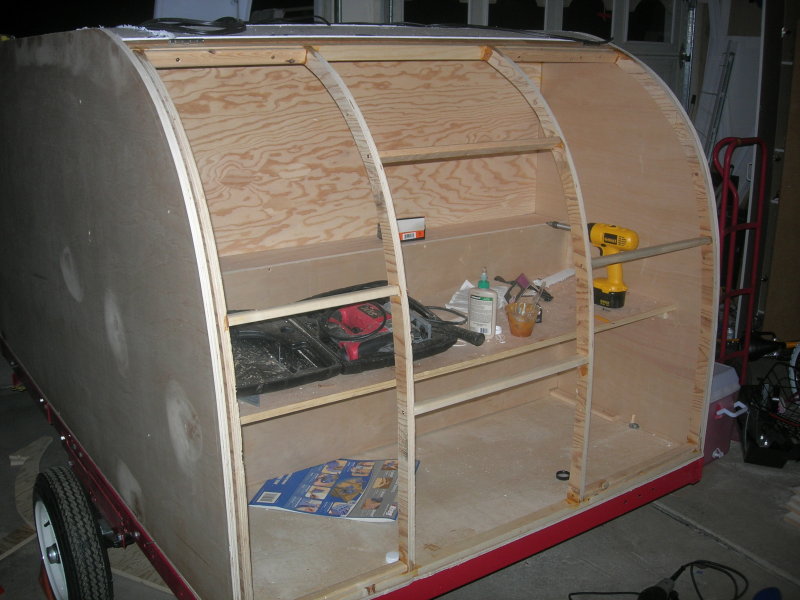
Started putting the rear hatch together. Screwing into the end of the plywood spars only caused them to split, so I cut more 1x2, epoxyed them, and glued them in also to make sure the whole thing stayed together.
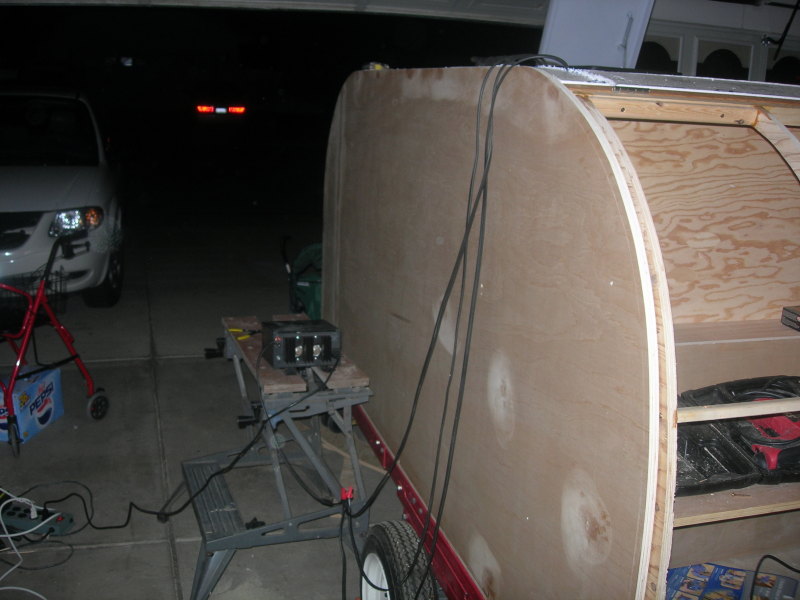
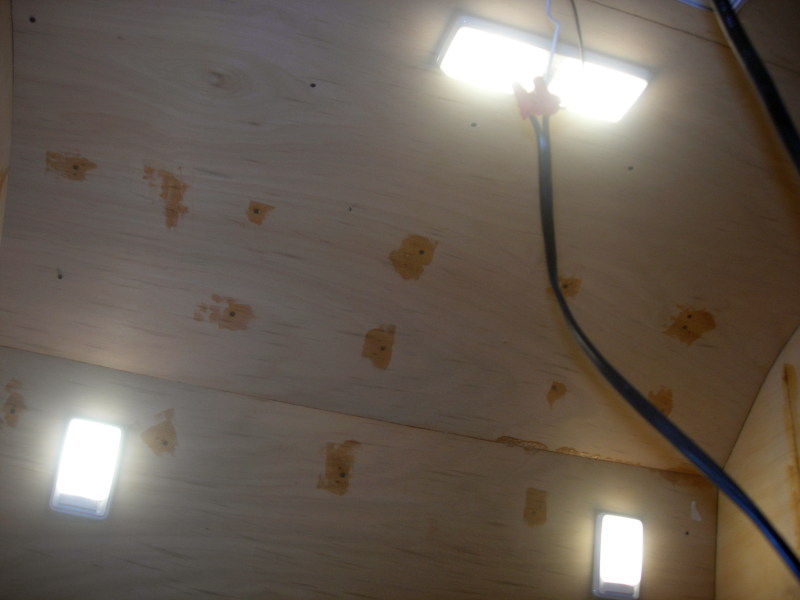
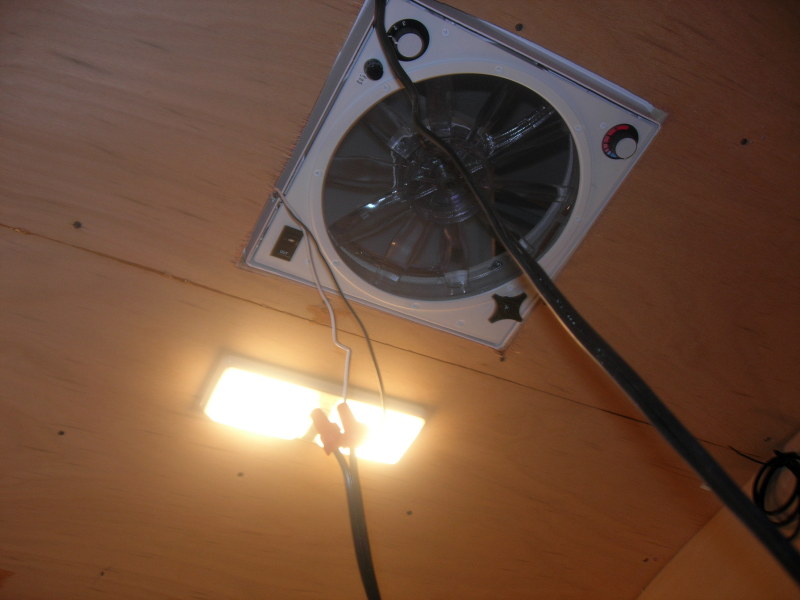
I haven’t created the conduit to move all of the wires from the roof, but I hooked them up anyway to a 12v power supply I normally use for Ham Radio. Wow, light! And that fan can move a lot of air also, even on low speeds. I feel confident enough about the wiring that I can probably start putting the top roof on.
First Trip
May 4-6, 2007
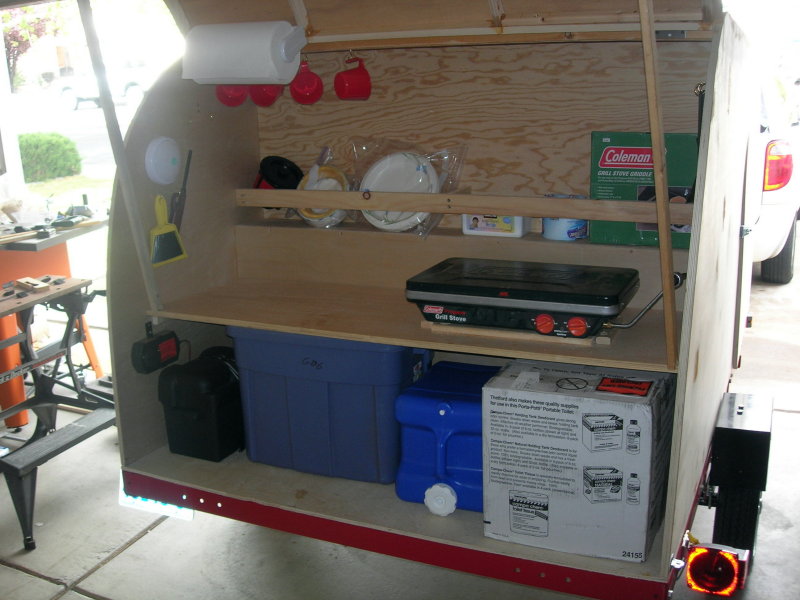
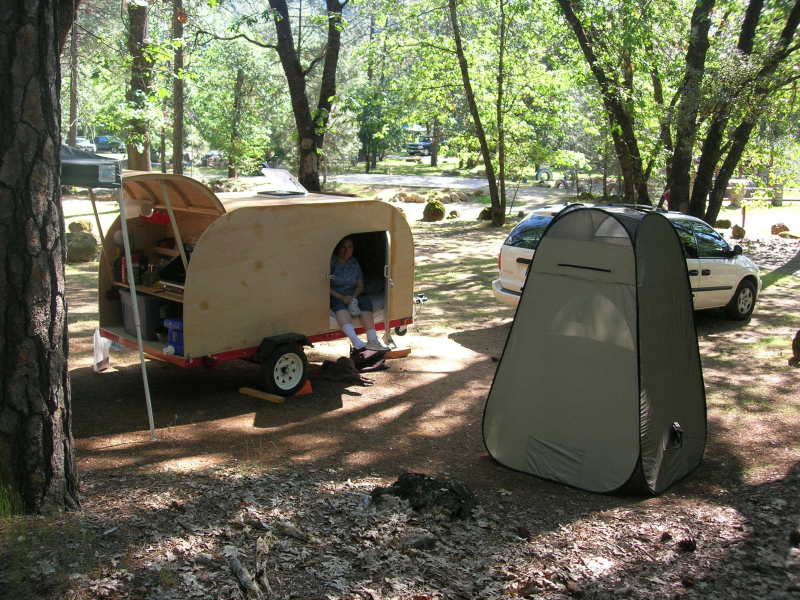
Hmm, it looks like I’ve missed some steps in the middle. Regardless, Michelle and I took it out for its first trip to Lake Shasta. It’s not waterproof yet, and still needs to be painted. Someday, I’ll finish the galley. But here are a couple of pictures to get started.